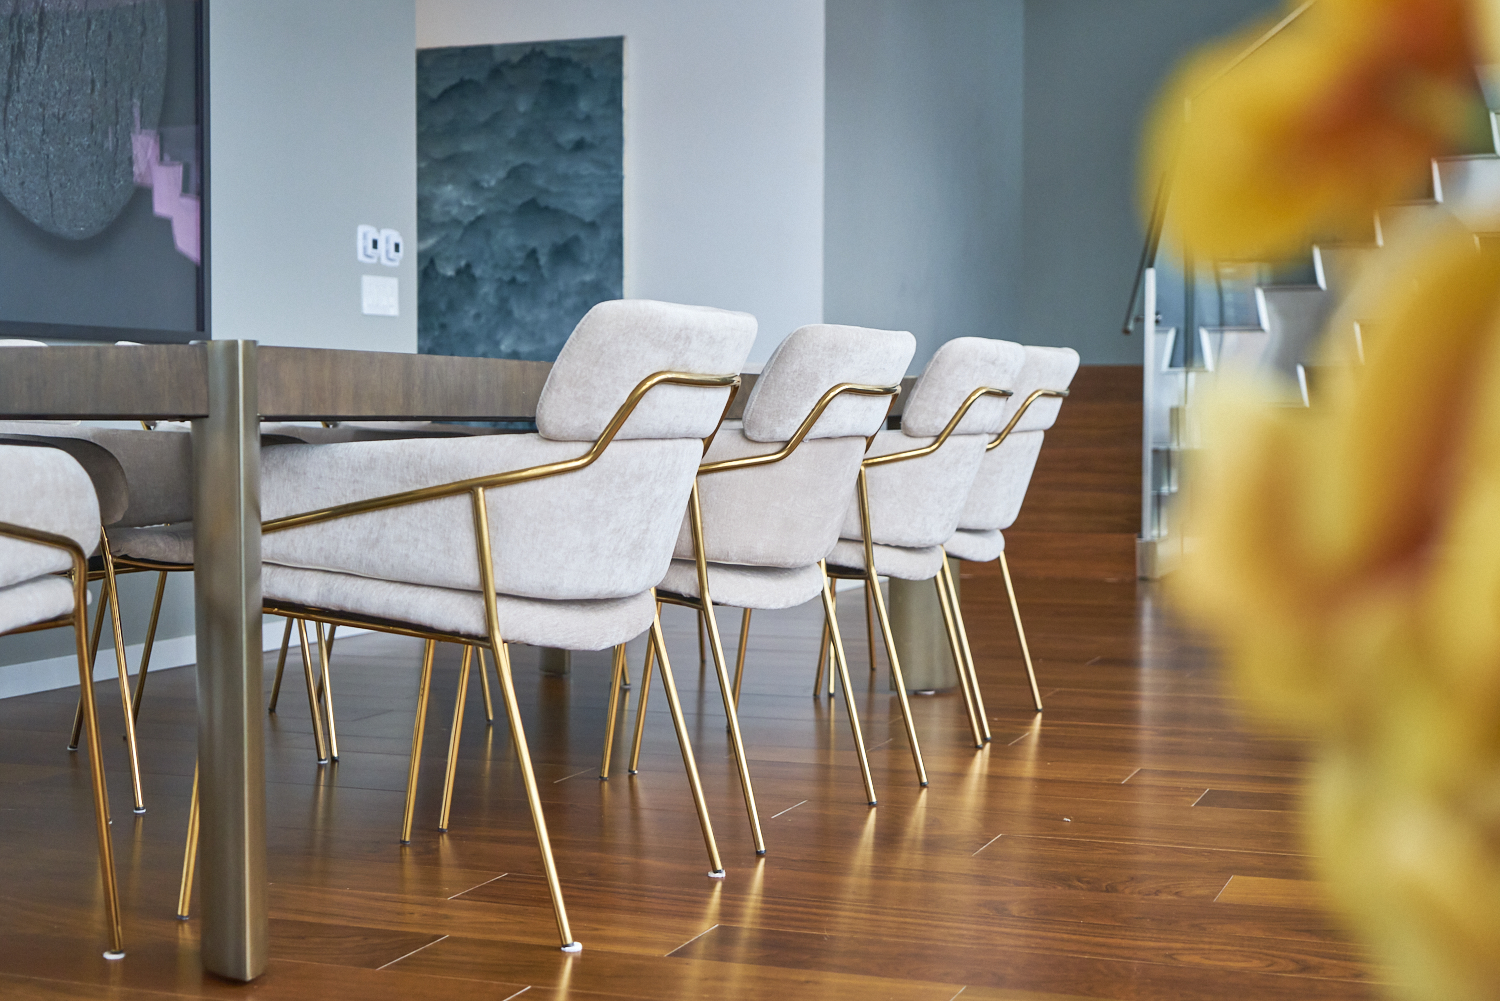
How to Install Engineered Wood Flooring
When installing engineered hardwood flooring in your home or commercial space, above all it is imperative to know what you’re doing. Welcome to the Smartwood installation guide, where we will cover all the basics needed to own your installation. Read on and learn how to install engineered wood flooring!
You Will Need
- Your floor boards & adhesive
- Protective Eyewear & Gloves
- Safe, close-toed footwear
- Respiratory and hearing protection
- Chop saw, Circular Saw, and/or Board Cutter

Safety
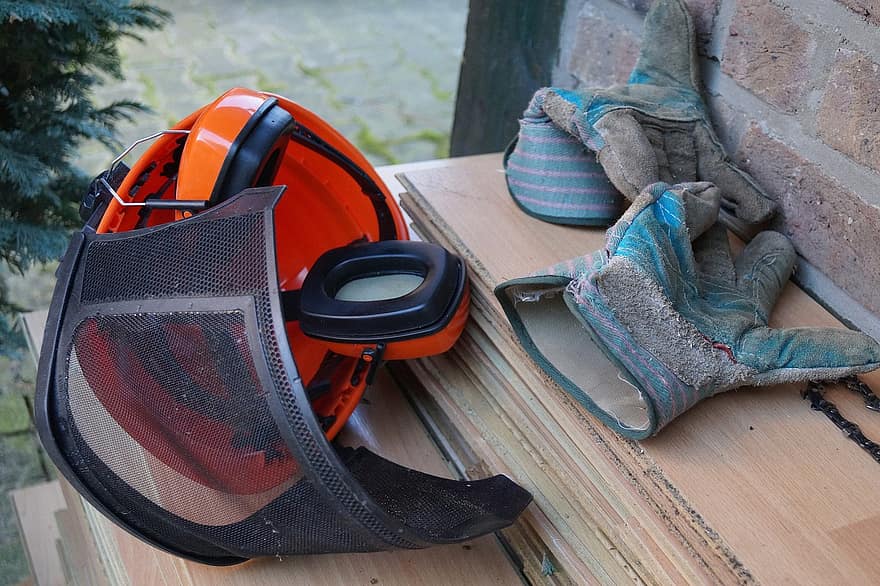
Work areas must be clean. Equip sawing, sanding and routing equipment with dust extractors. When machining wood flooring, wear close-toed shoes, respiratory protection, gloves, & hearing and eye protection. After handling flooring, wash skin thoroughly with mild soap. Regularly launder clothing. Dispose of waste material responsibly.
Prep
The subfloor surface must be dry and free of contaminants including but not limited to oil, paint, grease, dust, metal shavings, saw dust. There are simple moisture meters available, though most of the time it’s not an issue unless you are installing over a newly poured slab.
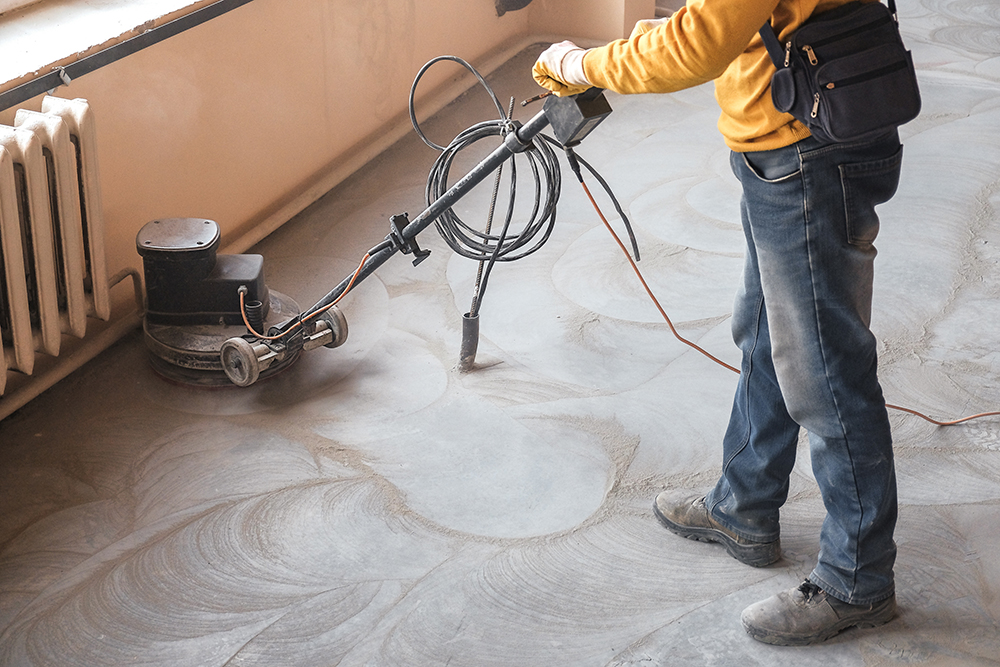
The surface is to be fully scraped or grinded to remove any plaster residues and mortar excess. Next, test your subfloor for flatness using a long straight edge. Fill deformations to the surface greater than 3/16ths over a 10 foot radius with a leveling compound.
Getting Started
Plan the direction you intend installing the floor. Set out the first run of floor boards using chalk/string lines. We recommend laying the boards parallel along the longest wall in the room. Start with the tongue closest to the wall and working outwards.
This is when the ease of the Smartwood system becomes very apparent. Smartwood changes the game and allows a new generation of home renovators and DIYers to install their own custom wood floors. Own your install with Smartwood!

Smartstep™
Apply the patented Smart-Step™ adhesive using the manufacturer’s recommended notch trowel, while trying not to work too far ahead so the adhesive doesn’t dry prior to Smartwood flooring being set in place. Install the boards in the fresh adhesive using a slight sliding movement and firmly tap into place – ensure good and complete wetting on the backside of the board.
Smartstep is used for all Smartwood installations, from floors to accents, walls and ceilings.
Your Installation Your Way
Lay out the flooring over the applied adhesive firmly pushing the tongue and groove together in a random pattern, while keeping the short joints no closer than the width of any one board. Apply even pressure to the boards to guarantee full contact between the adhesive and the base of the board. When using a rubber mallet, DO NOT HIT THE EDGE OF THE GROOVE SIDE AS IT WILL CAUSE DAMAGE. Only hit the surface of the board in the direction you intend it move. Use a low tack masking tape (blue painters tape) on all end joints to ensure the boards don’t move from the installed position.

Leaving Space
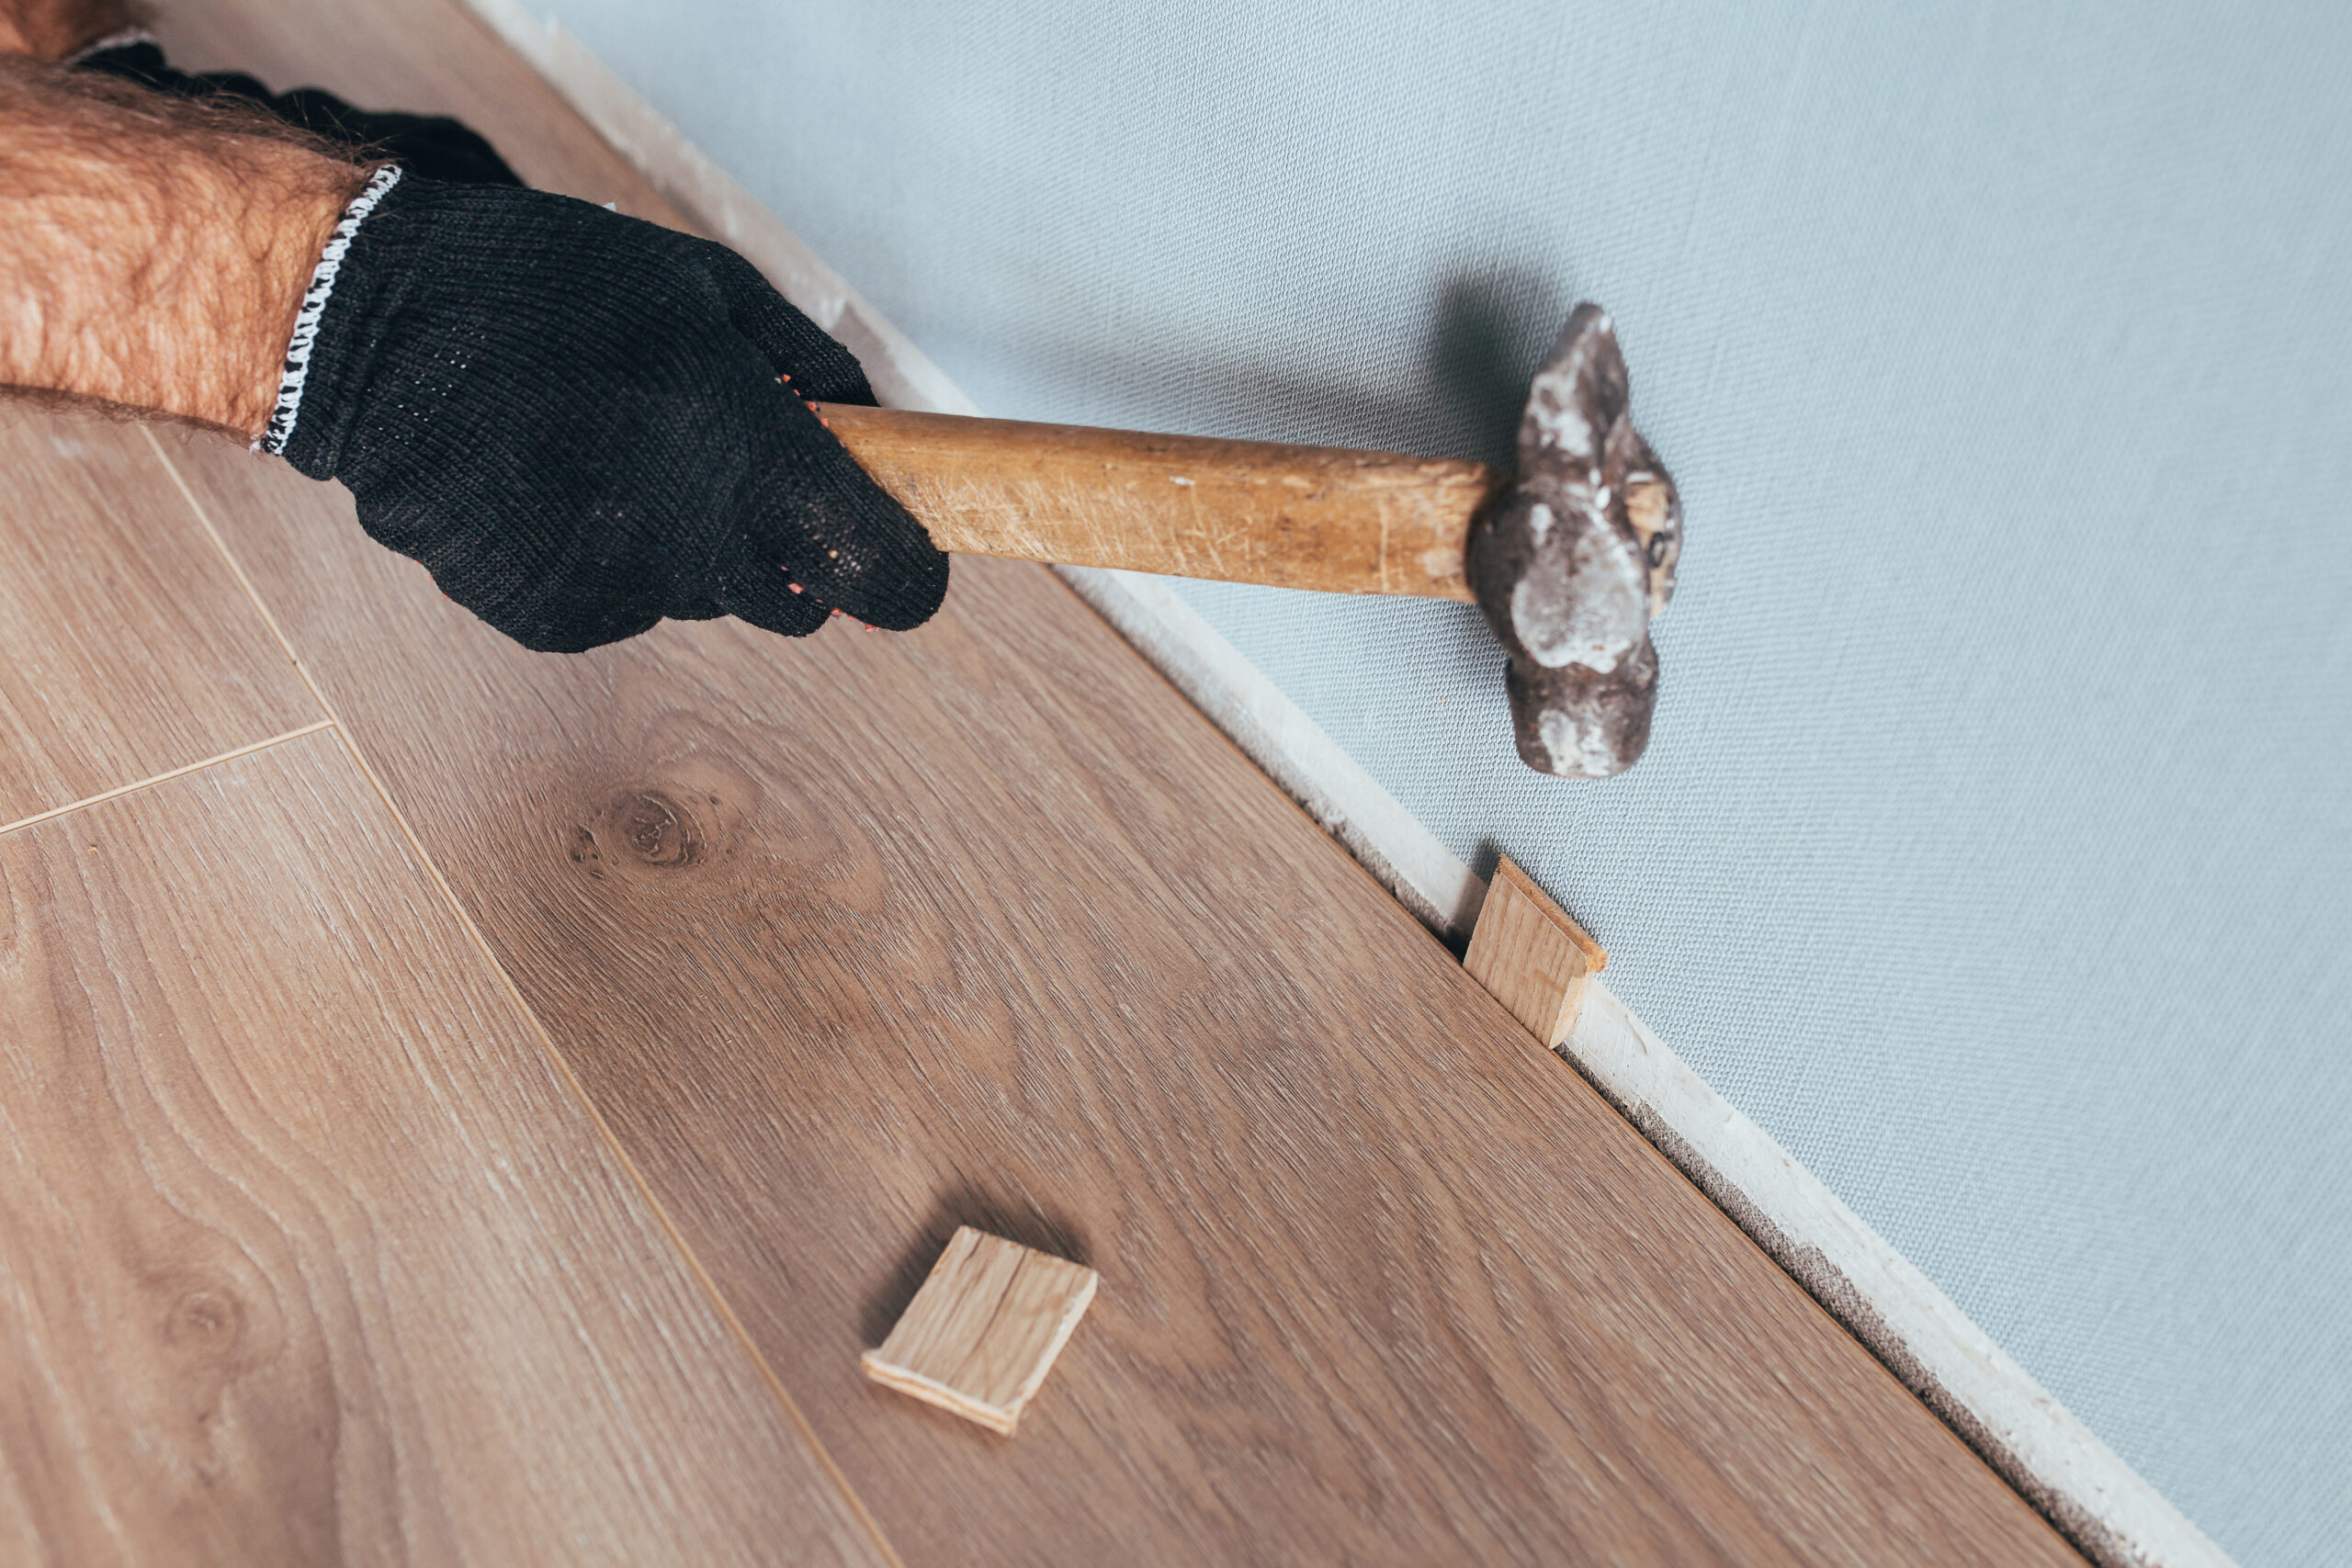
Smartwood requires some expansion gaps at walls. It is standard for all wood flooring to expand along the width of the boards. Smartwood expands less and thus requires a ¼ inch expansion gap between the installed flooring and the finished wall or hard surface. When installing off of a finished saddle, 1/8th of an inch space will work but 3/8th’s of an inch is ideal on the opposing side wall. Additionally and critically important, you must add 3/16ths of spacing for every 20 foot of installed flooring widthwise. This can be one 3/16th gap or 3 – 1/16th’s gaps, each is sufficient.
Cleaning & Protection
Smartwood flooring cleans easily. Remnants from the base should be carefully vacuumed as the base can be abrasive and damage the surface. Remove any glue residue on the surface with denatured alcohol or if completely dry using a standard pencil eraser or tennis ball (yes, tennis ball).
Once Completed
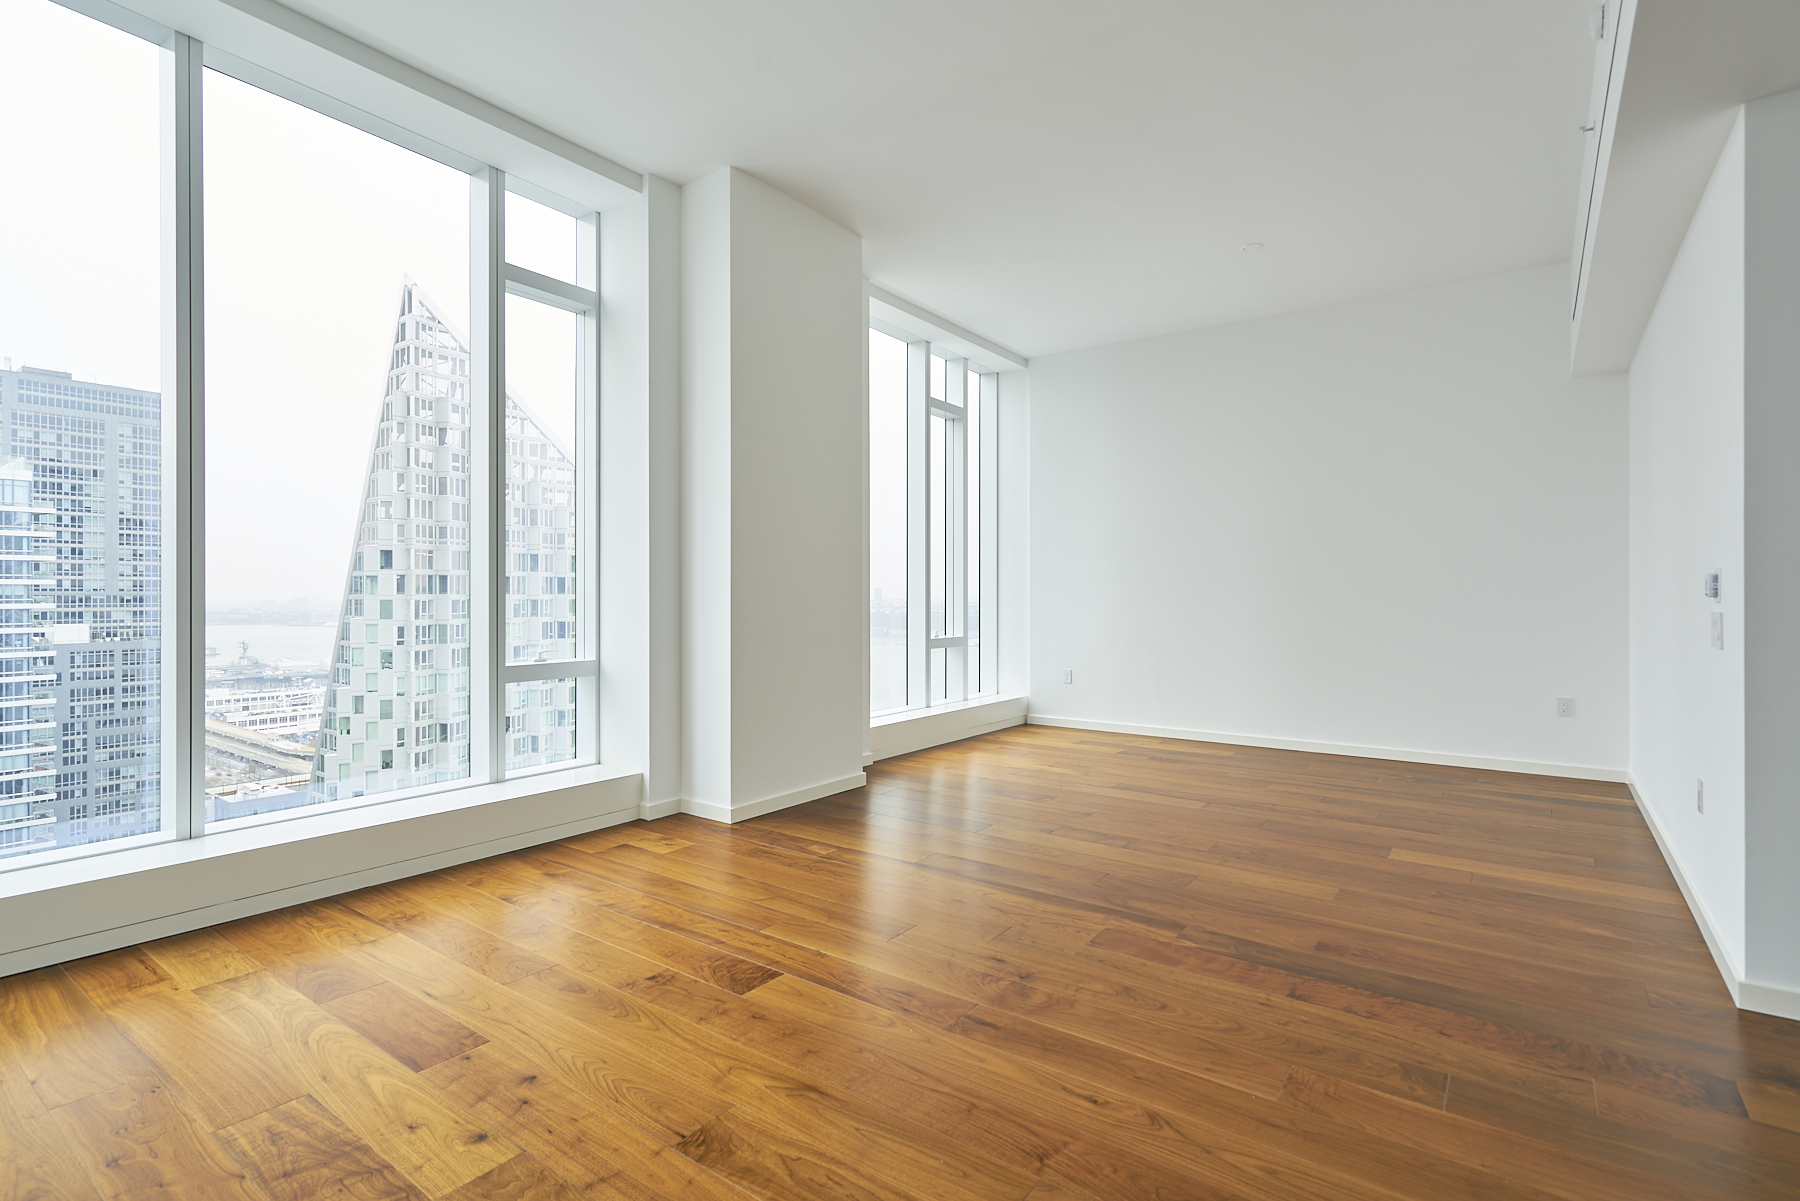
Upon completion, take care to protect the flooring from damage during the final stages of construction. Install Smartwood flooring at the final stage of the project in order to minimize any damage to the floor surface. Use protective sheeting such as foam underlay, medium density fiberboard, masonite, paper, or cardboard where contractors see fit. The use of plastic protection can trap moisture and cause delamination. As a result, the use of such protection will void the warranty.

